Heavy Duty Inversion Table Guide: Setup, Safety, Routine
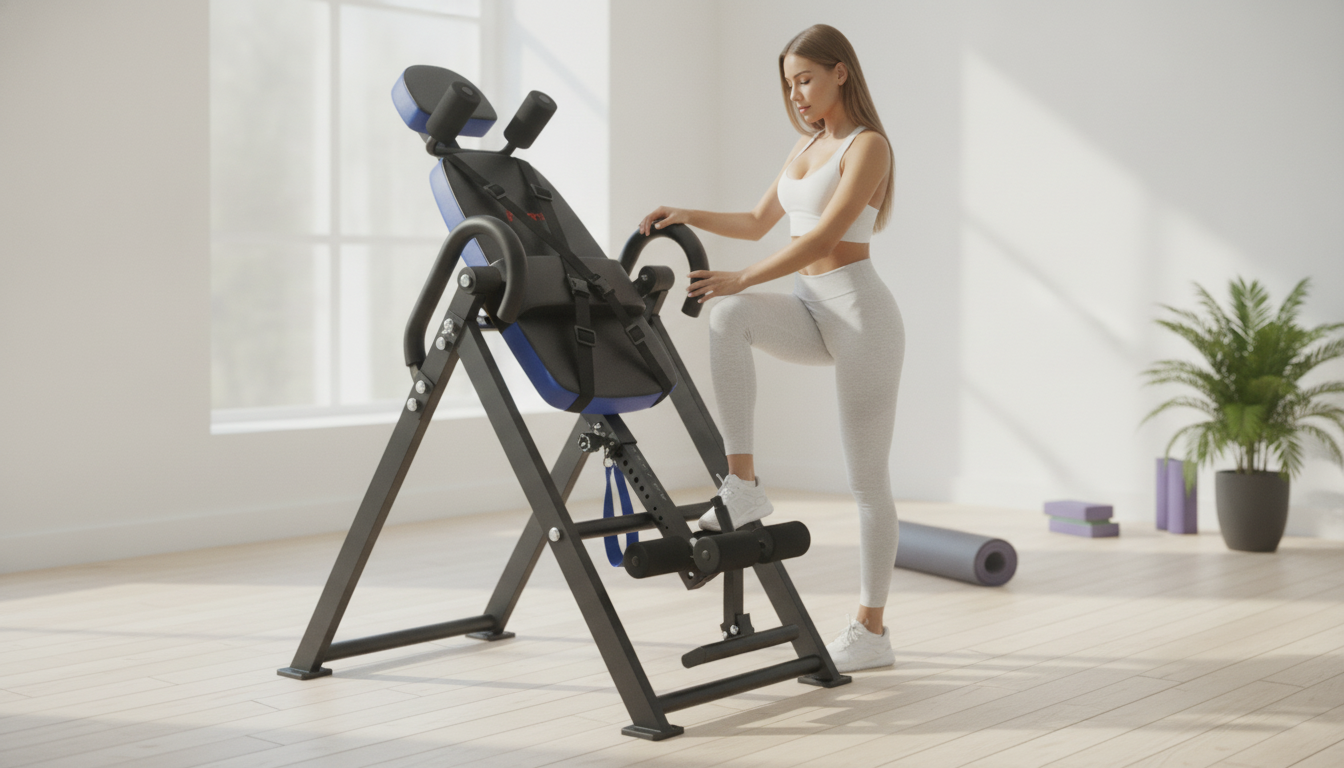
Heavy Duty Inversion Table: Safe Setup, Daily Use, and What to Look For
A heavy duty inversion table is built to support higher user weights and frequent use while keeping the frame stable, the ankle supports secure, and the rotation smooth. Used correctly, it can provide short, controlled decompression sessions that some people find helpful for tight backs and post-workout recovery. The most important factors are fit (height/weight range), locking and balance controls, and a routine that prioritizes safety over deeper angles.
What makes an inversion table “heavy duty”
“Heavy duty” isn’t just a marketing label—it should translate into steadier rotation, less flex, and a more confidence-inspiring mount and dismount. When comparing models, look for these build signals:
- Higher stated weight capacity paired with thicker steel tubing and reinforced pivot points to reduce wobble during rotation.
- Wider or more stable footprint to resist tipping, especially when getting on/off or doing partial inversions.
- More robust ankle/foot locking system designed for comfort under pressure during longer hangs.
- Smoother rotation hardware and durable fasteners that hold up to repeated daily use.
- Clear height adjustment range so your center of gravity balances correctly for controlled inversion.
Potential benefits and realistic expectations
Many people use inversion as a comfort and recovery practice, not a one-step fix. A few practical expectations can keep your routine safer and less frustrating:
- Short sessions may temporarily reduce the feeling of spinal compression and help some users relax tight back muscles.
- Many users treat inversion as a mobility and recovery tool rather than a cure; results vary widely by condition and consistency.
- Gentle angles often deliver most of the comfort with fewer side effects than full inversion.
- If pain increases, numbness appears, or symptoms radiate down the leg/arm, stop and seek medical advice.
For a quick overview of what research and clinicians typically say about inversion therapy for back discomfort, see Mayo Clinic’s guidance on inversion therapy. For general back pain self-care and when to seek help, the NHS back pain resource is also a useful reference.
Safety first: who should avoid inversion or get medical clearance
Because inversion changes pressure and circulation dynamics, it’s not appropriate for everyone. Avoid inversion or get clinician approval if any of the following apply:
- High blood pressure, glaucoma/eye pressure issues, heart disease, history of stroke, or significant vascular conditions due to head-down pressure changes.
- Hernias, severe reflux, pregnancy, recent surgery, osteoporosis, or acute injury (use extra caution and ask a clinician first).
- New users should not invert alone; have someone nearby during first sessions and keep a phone within reach.
- Start shallow and short; dizziness, headache, eye pressure, or nausea are signs to stop immediately.
How to set up for stability and comfort
A strong frame still needs correct setup. Most “bad first experiences” come from rushed assembly, poor balancing, or overly tight ankle locks.
- Assemble on a flat, non-slip surface; tighten bolts fully and re-check after the first week of use.
- Adjust height so the balance point allows slow rotation without having to “kick” into inversion.
- Set ankle supports snug but not crushing; test by leaning back slightly before committing full weight.
- Wear supportive athletic shoes to reduce pressure on the tops of the feet and improve grip in the foot cradle.
- Keep space clear behind and above the table so you won’t contact a wall, shelf, or furniture during rotation.
A simple routine: angle, time, and progression
The safest progress tends to be boring—in a good way. The goal is calm, repeatable sessions where you can lock in, rotate, pause, and return upright without rushing.
- Begin with partial inversion (about 15–30 degrees) for 1–2 minutes, focusing on slow breathing and relaxing shoulders and hips.
- Progress by time before depth; increase to 3–5 minutes at the same angle over several sessions if comfortable.
- Add depth gradually (for example, moving from 30 to 45 degrees) only when mounting, locking, and returning upright feel completely controlled.
- Use the return-to-upright as part of the routine: pause at mid-angle for 10–20 seconds to reduce lightheadedness.
- Stop immediately if there is sharp pain, tingling, vision changes, or strong pressure in the head.
| Goal | Angle range | Time per set | Sets | Notes |
|---|---|---|---|---|
| First week / getting used to inversion | 15–30° | 1–2 min | 1–2 | Focus on calm breathing; prioritize secure ankle fit |
| Daily decompression feel | 20–45° | 2–4 min | 1–3 | Pause mid-angle when returning upright to reduce dizziness |
| Post-workout relaxation | 15–35° | 2–3 min | 1–2 | Keep it gentle; combine with light stretching afterward |
| Occasional deeper inversion (experienced users) | 45–60° | 1–2 min | 1–2 | Only if comfortable and symptom-free; avoid long hangs |
Features that matter for daily use
Care, maintenance, and longevity checks
In-stock picks to consider
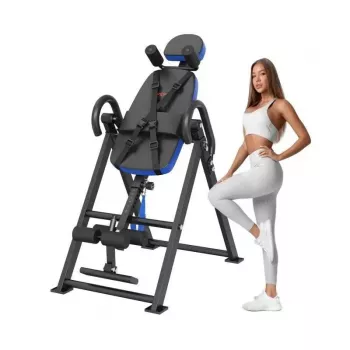
- Heavy Duty Inversion Table — A sturdier build geared toward frequent use, designed for stable rotation and secure support. Confirm the listed height and weight compatibility before ordering, then start with gentle angles to build confidence.
- Ride On Push Car for Toddlers — A family-friendly option if you’re outfitting a home space that works for both workouts and everyday activity.
FAQ
How long should an inversion session be?
Start with 1–2 minutes at a gentle angle; many people stay within 2–5 minutes per set. Increase gradually and stop if dizziness, pressure, or worsening pain occurs.
Is full inversion necessary to get benefits?
Often no. Many users prefer 15–45 degrees for comfort and control; deeper angles can increase head pressure and aren’t required to get a decompression feel.
Who should not use an inversion table?
People with certain cardiovascular conditions, uncontrolled high blood pressure, glaucoma/eye pressure issues, or other contraindications should avoid inversion or get medical clearance first.







Leave a comment